
Lube & Coolant Management
Coolant Concentration Keeps Drifting? Check the Top-Up Routine
What to check, and in what order, when a full sump still reads out of range
The top-up blind spot
Same level.
Different concentration.
Both return to 100 L after a 10 L top-up at 6%.
The sump has been topped up. The level is back on its mark, but the concentration is still wrong. Another adjustment might bring the reading into range for a while, only for the same problem to return on the next shift.
The level tells you how much fluid is in the machine, not how strong the mix is. Before changing the mixer setting, work back through three checks: the reading, the mixer output and the way fluid is leaving the sump. Each can explain a different kind of drift.
- 01
Instrument
Can I trust the reading?
Zero, scale and product factor - 02
Mixer outlet
What am I adding?
Measure the actual premix - 03
Circulating sump
What is in the machine?
Use the agreed sampling point
A mixer setting and a sump sample cannot stand in for each other.
Check the reading before correcting the fluid
A refractometer measures how much the sample bends light. If your instrument reads on a Brix scale, the number on the scale equals the coolant concentration only when the product's factor is 1.0. Multiply it by the factor for the exact product in the machine:
Concentration (%) = refractometer reading x product factor. For a reading of 4.0 and a product factor of 1.5, the result is 6.0%. Take the factor from the current product data sheet or the supplier. A factor carried over from a previous product can make a perfectly steady reading consistently wrong.
If a digital instrument already displays product concentration, check its setting before applying a factor.
Zero the instrument with high-quality water and follow the instrument's own instructions. Blaser's measurement guidance explains the zero setting and the product factor. A digital refractometer may be set up to show product concentration rather than a raw Brix value, so check which one yours shows before you apply a factor. Record the raw reading, the factor and the calculated concentration separately. If the instrument shows concentration directly, record that value and the product setting it uses.
A blurred line on the scale is a warning in itself. Blaser links it to an unstable emulsion or heavy tramp-oil contamination, meaning unwanted oil from slideways, hydraulics or machine lubrication. The line does not tell you which. Clean the instrument and repeat the check. If the line stays unclear, ask the fluid supplier how to verify concentration before adding anything.
Check what the mixer delivers, then what the sump holds
It is worth checking the mixer and the sump separately. The first tells you what is being added. The second tells you what the machine is working with after that addition has mixed and the machine has been running.
Measure the premix coming out of the mixer instead of trusting the setting on its scale. Blaser recommends checking the output with a refractometer even when a concentration has been selected on the mixer. For mixing by hand, its mixing guidance says to add the concentrate to the water while stirring, not the other way round.
For the sump, agree a sampling point that can be reached safely while the coolant is flowing, and take each sample in the same operating state. A sample drawn next to a fresh top-up can overrepresent the fresh addition rather than the bulk sump. Follow the site's procedure for how long to circulate before sampling, because no single waiting time suits every system. Master Fluid Solutions' instructions for laboratory samples call for a clean, dry bottle filled from a running coolant nozzle or hose. The same habit suits routine checks.
A lower level does not tell you what left
Different losses change the sump in different ways:
- Evaporation takes away water, so the coolant left behind becomes stronger.
- Carry-out, splash and leaks take away water and concentrate together. When well-mixed coolant leaves, the volume falls but the concentration that remains does not change.
Most machines lose fluid both ways at once. Look at wet chips and parts, visible splash and leaks, and how much premix has been added over time. If the level falls while concentration rises, investigate evaporation first. If concentration falls, check for extra water getting in, a weak premix, and measurement or sampling errors. One pair of readings is not enough to decide.
The same top-up, two different results
To see why the loss matters, start with two sumps, each holding 100 L at 6%. Each contains 6 L of supplied coolant concentrate and 94 L of water. Let one lose 10 L of water and the other lose 10 L of mixed coolant, then give both the same top-up. The calculation treats volumes as additive and assumes complete mixing, no contamination and no chemical change. The 6% is a chosen starting point, not a recommendation for your product.
Start at 100 L. Lose 10 L, then add 10 L of premix at 6%.
Vertical scale: 6.0 to 6.8%. The calculation assumes complete mixing, with no contamination or chemical change.
| Step | Water evaporates | Mixed coolant leaves |
|---|---|---|
| Start | 100 L at 6.00% | 100 L at 6.00% |
| Loss | 10 L of water | 10 L of mixed coolant |
| Left in the sump | 90 L holding 6.0 L of concentrate | 90 L holding 5.4 L of concentrate |
| Concentration before top-up | 6.67% | 6.00% |
| 10 L top-up at 6% adds | 0.6 L of concentrate | 0.6 L of concentrate |
| Concentration after top-up | 6.60% | 6.00% |
Both sumps are back at 100 L, but only one is back where it started. When evaporation is the main loss, topping up every time with premix at working strength lets the concentration creep upwards. HSE, the health and safety regulator for Great Britain, makes the same point in its guidance on managing fluid quality: water-mix fluids become more concentrated as water evaporates, so it advises topping up only with fluid below the recommended concentration.
In this idealised case, only plain water would bring the first sump back to exactly 6%. Real machines also lose some mixed coolant on chips and parts, and some product instructions forbid adding water alone. So the usual answer is a premix weaker than working strength, matched to the machine's actual losses.
Agree the correction before adding it
Work to the supplier's range for the product and the machining operation. To agree a correction, give the supplier four numbers: the verified current concentration, the target concentration, the current volume and the full volume. Master Fluid Solutions lists the same four inputs in its Technical Bulletin 110. Use the supplier's calculation and preparation method. The top-up premix may need to be at a different strength from the first fill.
Do not treat a high or low reading as an instruction to pour in plain water or neat concentrate. Blaser's handling and care guide tells users of its products never to add water alone or neat concentrate to the emulsion, and says the top-up concentration is generally lower than the working concentration. Follow the instructions for the fluid actually in the machine.
Pause routine additions and agree the next step if a correction is needed but the sump is already full, if the concentration cannot be verified, or if a pH, tramp-oil, bacteria or other fluid check calls for action under the supplier's or site procedure. Do not dilute to hide suspected instability or contamination. After an approved addition and enough circulation, check the result at the agreed sampling point.
Keep the readings and additions in one log
"Concentration corrected" is not much help when the next shift finds it out of range again. A short record of the reading, the level and the addition makes it possible to see what changed.
Before adding
- Machine and product
- Date and time
- Sampling point and operating state
- Level or volume
- Raw reading
- Factor
- Calculated concentration
The addition
- Measured premix concentration
- Volume added
- The reason
- Who approved it
- Who added it
After mixing
- Time
- Level
- Verified concentration
- Who checked it
- Anything still unresolved
Read the concentration together with the level, the addition and the verified result.
Agree with the supplier and the site procedure how often to check. Published starting points differ. HSE's MW5 guidance says to measure concentration every week. Blaser's measurement guidance says to check it whenever the tank is filled and to record it at least once a week, and its handling and care guide suggests daily checks on central systems and weekly checks on individually filled machines. Also agree who may adjust the fluid and who verifies the result. If the same person does both, record both actions.
When the same correction keeps coming back, look for the cause: a mixer fault, unrecorded water additions or avoidable carry-out each need their own fix.
An in-range concentration is only one check
HSE's guidance on bacterial contamination calls for a direct measure of bacteria, such as dip slides, alongside concentration and pH checks. The guidance is written for Great Britain, but the point carries over: an in-range concentration does not show that bacteria are under control.
Reliability Engine, which publishes guidance on liquid cooling for AI data centres, makes a similar point about a very different fluid. Its explanation of PG25 inhibitor chemistry shows that the glycol concentration of a water and propylene glycol coolant does not tell you whether its corrosion inhibitors are still protecting the cooling loop. The chemistry, tests and limits of those fluids do not transfer to a machining emulsion. The measurement lesson does: one number answers one question.
Sources and method
This article applies supplier and HSE guidance to a coolant top-up check. The worked example, the order of checks and the log fields are VAS editorial guidance, not requirements of those sources. Take product ranges, top-up strength and check intervals from the fluid supplier and the site procedure.
- Blaser Swisslube: Measuring the coolant concentration
- Blaser Swisslube: Perfect concentration ensures stable emulsion
- Master Fluid Solutions: How to send samples to MFS (laboratory sample instructions)
- Master Fluid Solutions: Coolant Concentration Facts and Terminology, Technical Bulletin 110 (revised 7 May 2025)
- Blaser Swisslube: Handling and care of water-miscible coolants (brochure 14.214 US)
- HSE: MW5, Managing fluid quality (COSHH essentials for machining with metalworking fluids)
- HSE: Bacterial contamination of metalworking fluids
- Reliability Engine: Inside PG25, the invisible chemistry protecting every cold plate
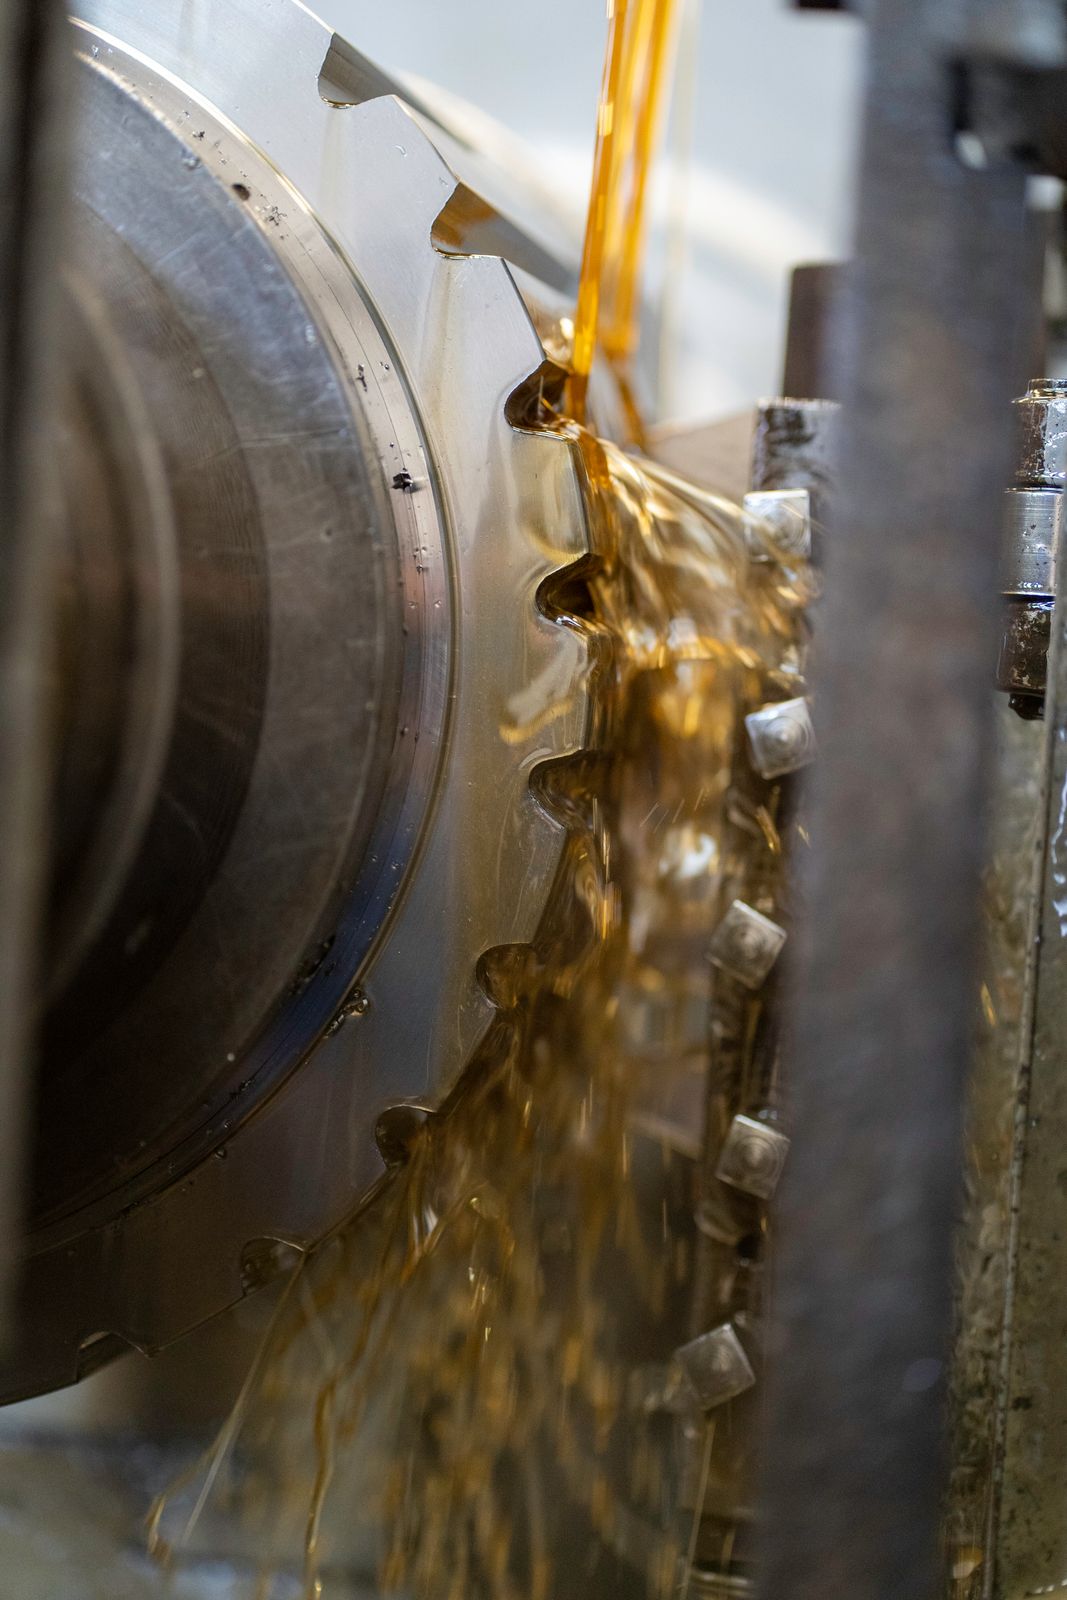
Photography: Connor Lucock / Pexels, used under the Pexels licence. The photograph does not show a VAS client installation.